29 Mar DIY Gallery Wall
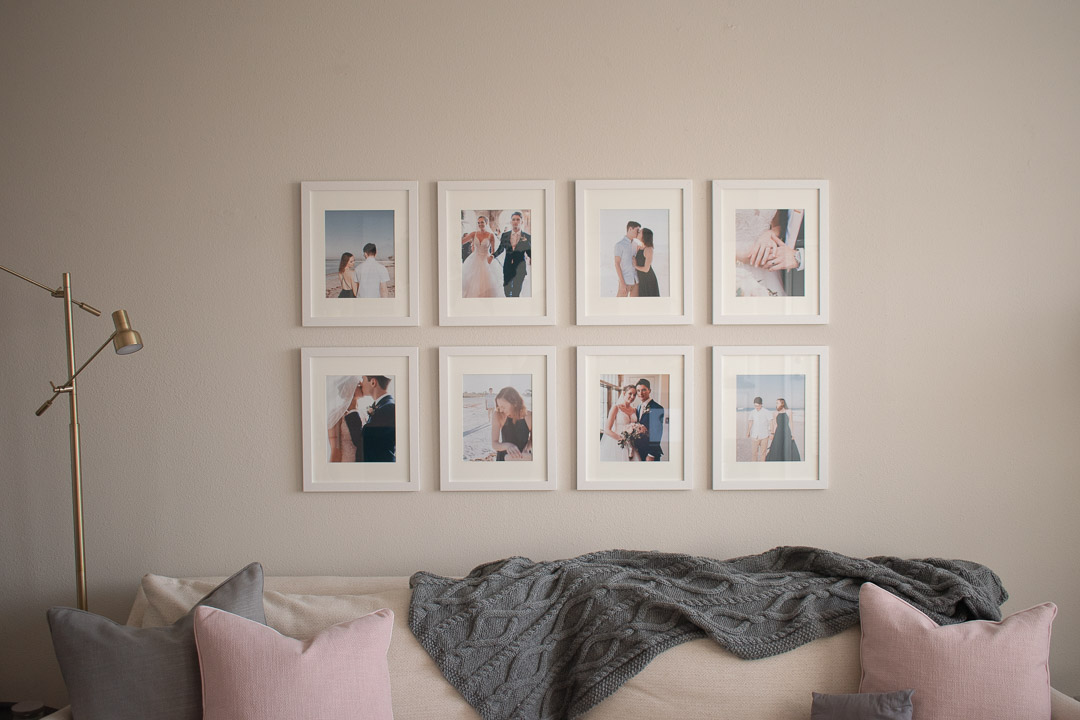
I’ve been dying to frame our wedding and engagement pictures since we got them, and when I saw these frames go on sale at Michael’s I knew it was finally time to put together a gallery wall! Not going to lie, I’m pretty proud of myself for hanging them all by myself. I wish I could tell you I had the magical secret of how to easily create a gallery wall but honestly, I had no idea what I was doing… After some trial and error, I’d say it turned out pretty good! There may be a few extra holes in the wall but no one can tell ; ). Here’s a few tips if you’re interested in creating your own gallery wall!
Tips for Creating a Gallery Wall
1. Use High Quality Images
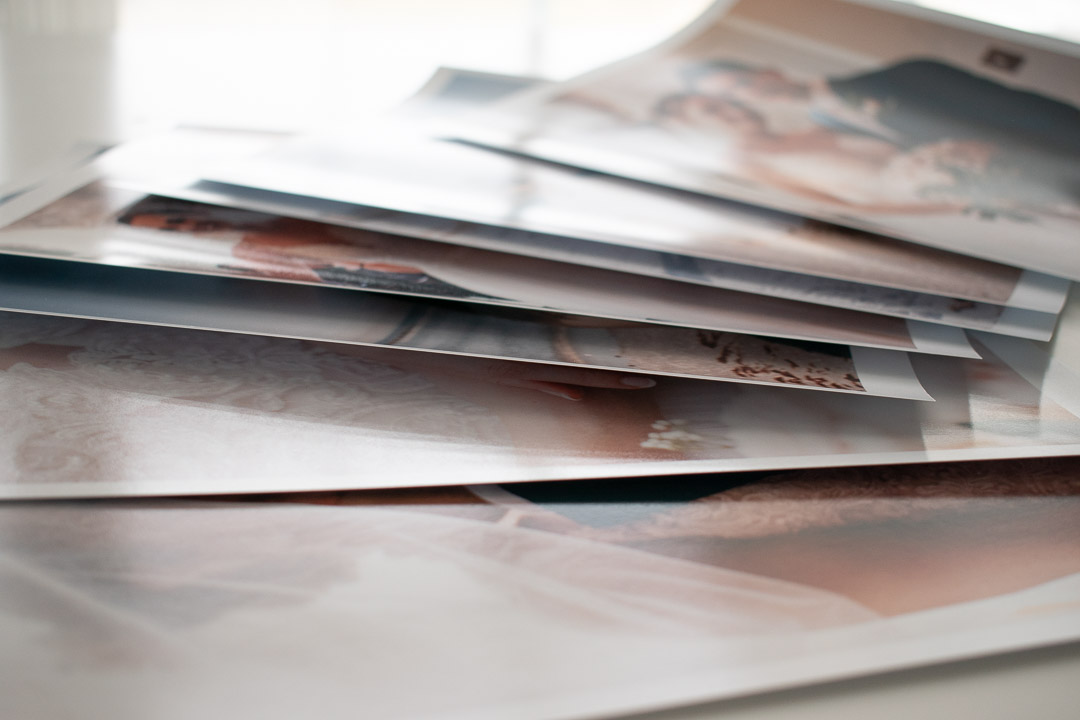
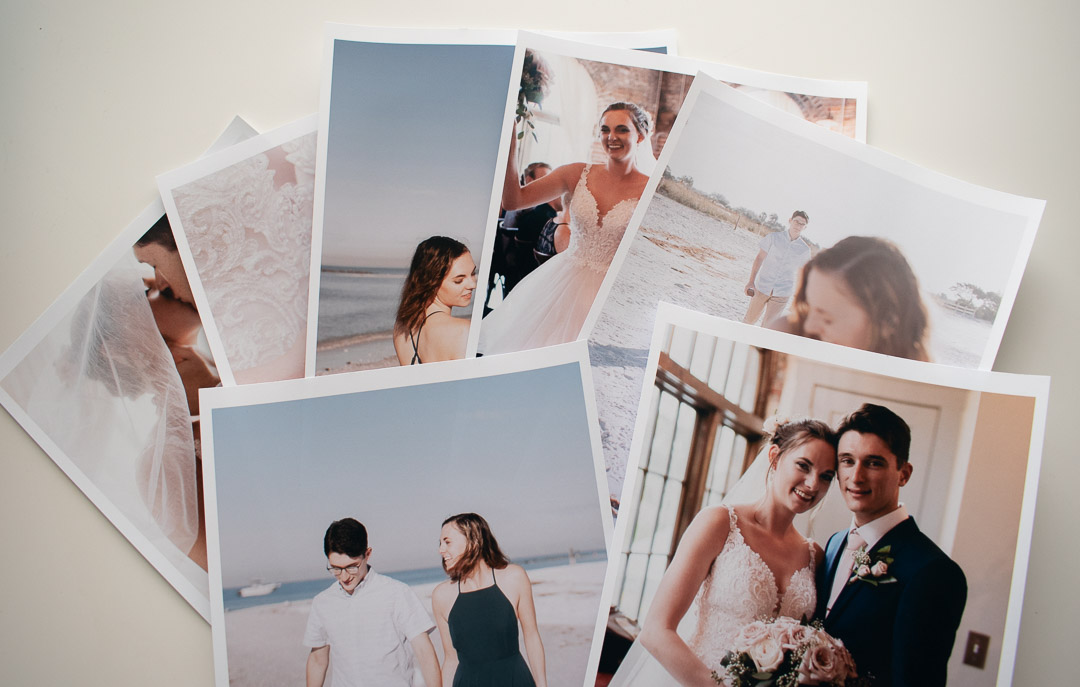
This is probably the most important step when selecting images to use! You want to make sure that your image file is equal to or larger than the actual size you plan to print at. If you stretch it out to larger than the original size, it will come out pixelated and blurry. There’s nothing worse than ending up with a blurry photo after all your hard work!
2. Pick Images with a Cohesive Look
I was lucky that all the pictures I wanted to use were by the same photographer, so they all had the same feel to them. If you have a mix of professional wedding photos and some selfies you took with your old camera phone, don’t worry! Use an editing software to create the same look for each photo. Try giving them all a warm or cool temperature, or adjust the exposure to create a bright and airy feel. You may even go for an edgy look and make everything black and white! If you’re not feeling that fancy, there are so many apps out there you can use now to put a filter on each image. You’ll automatically have images with a cohesive theme and it will look like they were meant to be together all along!
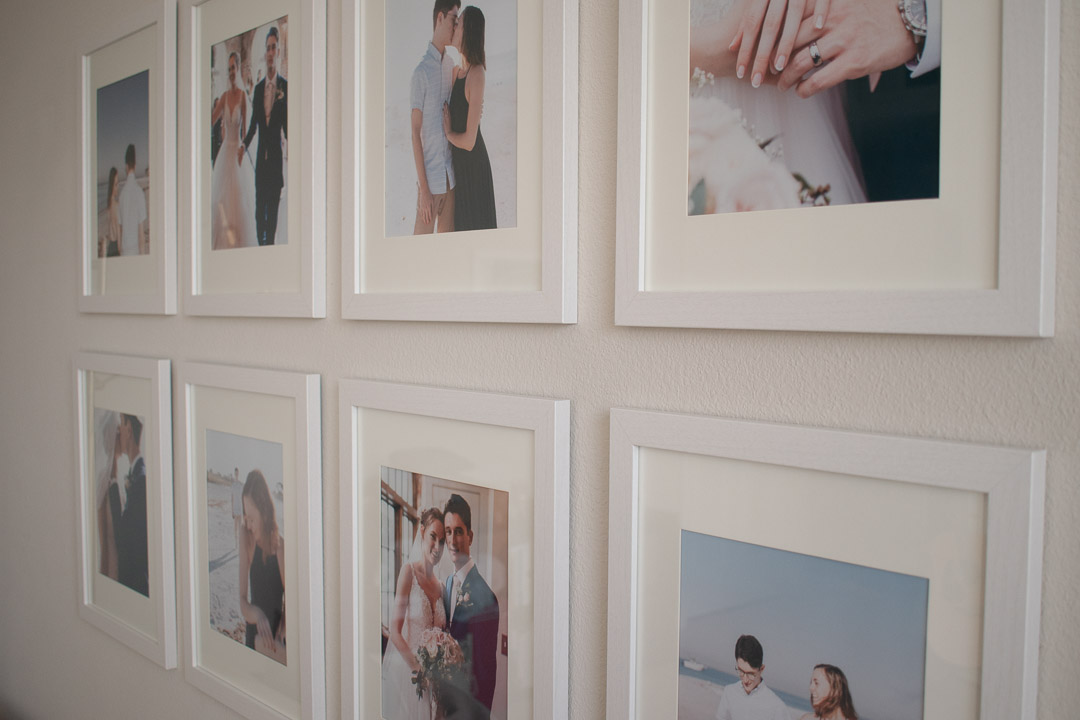
Either way, make sure the pictures you use have the same color scheme and/or subject. My photos all included blue, white, and blush tones and my husband and I were in each one. Even though all my pictures were taken by the same photographer, some just didn’t go together as well. Take time to experiment with different combinations until you find what works best for your home!
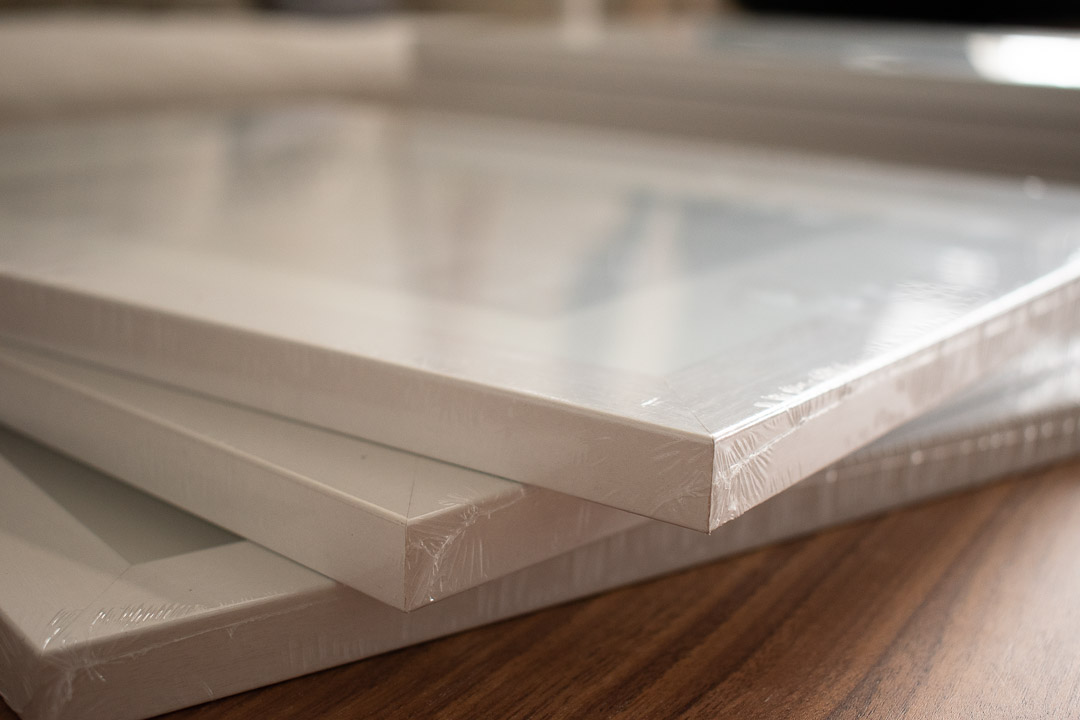
3. Pick your Frames Thoughtfully
Whether you decide to go for an eclectic mix of sizes and styles or keep everything clean and simple, make sure you choose your frames with intention. I bought all of my frames at once so I knew I could get the same brand, size, and color. (and for a crazy deal I might add- 60% off at Michaels!). If you go for a mix of frames, make sure they still complement each other (sleek and modern, rustic and natural, detailed and ornate, etc.)
4. Make Your Gallery Wall Proportional with the Rest of the Room
At first I thought I would save money and just buy 6 frames, but I decided to just go for it and buy 8- and I’m glad I did! It fills up the space so well and it doesn’t look too cluttered or too empty. When planning your gallery wall, consider what’s surrounding it and how much space you want to fill. A good rule of thumb when hanging pictures is to imagine you divide the wall into thirds horizontally. The center of your picture or gallery should be somewhere between the middle and top third.
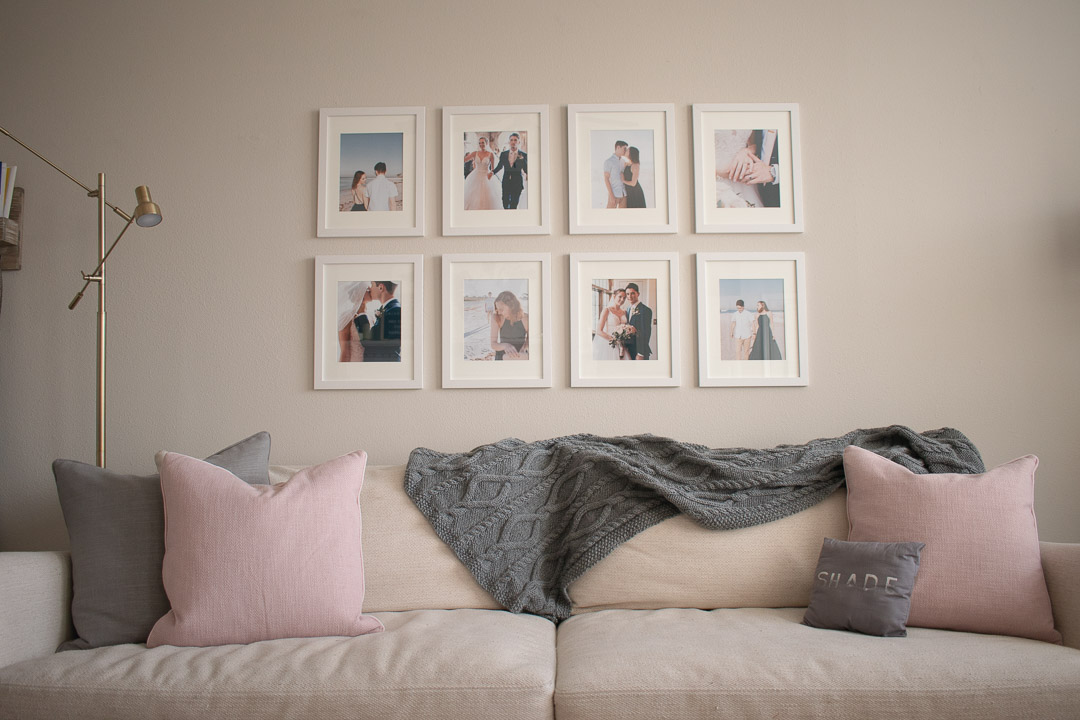
Like I said, I’m no expert but I hope these tips help you out. I’m really happy with how it turned out, and if I can hang a gallery wall all by myself, so can you! If you want to see how the rest of our living room looks, check out this post!