11 Jan DIY Picture Hanger
Hey there! I’m excited to share with you guys this DIY I came up with while we were unpacking and putting up Christmas decorations. It kind of happened by accident. I threw it together using some leftover branches I had from another project. The branches were really spread out and I knew I could use them for something. I remembered I had some polaroids I wanted to hang up and then the idea hit me! I was able to put it together with some materials I had around the house, so it was completely free too!
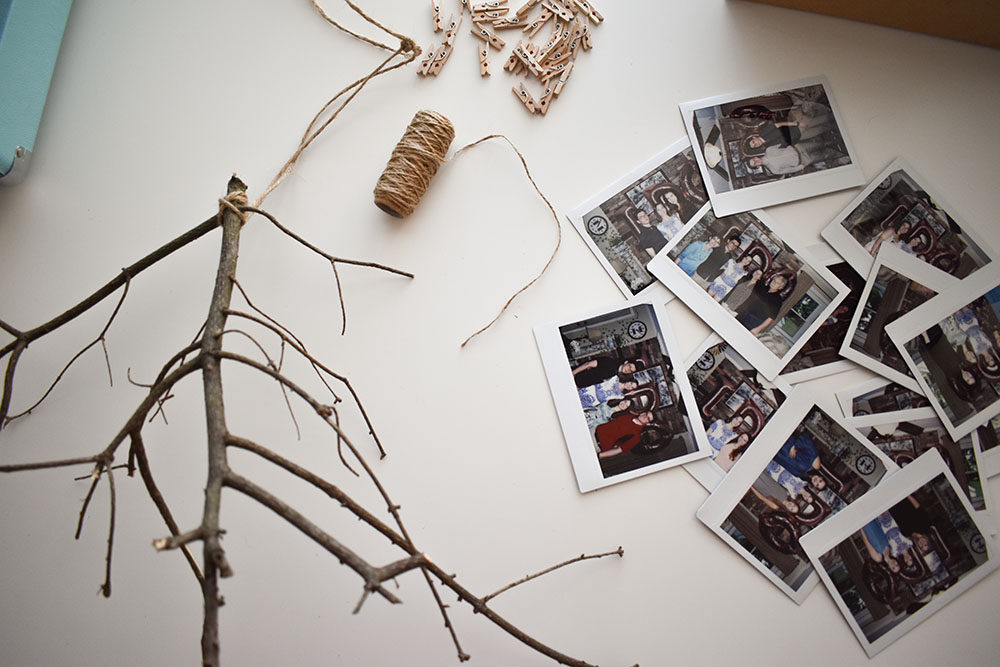
Gather the Materials:
You don’t need much for this one, and it’s pretty straightforward to assemble. All you need is a wide tree branch, twine, clothespins, and some pictures you want to show off! I think I used the smallest clothespins known to man, which made it a little difficult to clip the pictures on. So you may want to get them a bit larger depending on how thick your branches are.
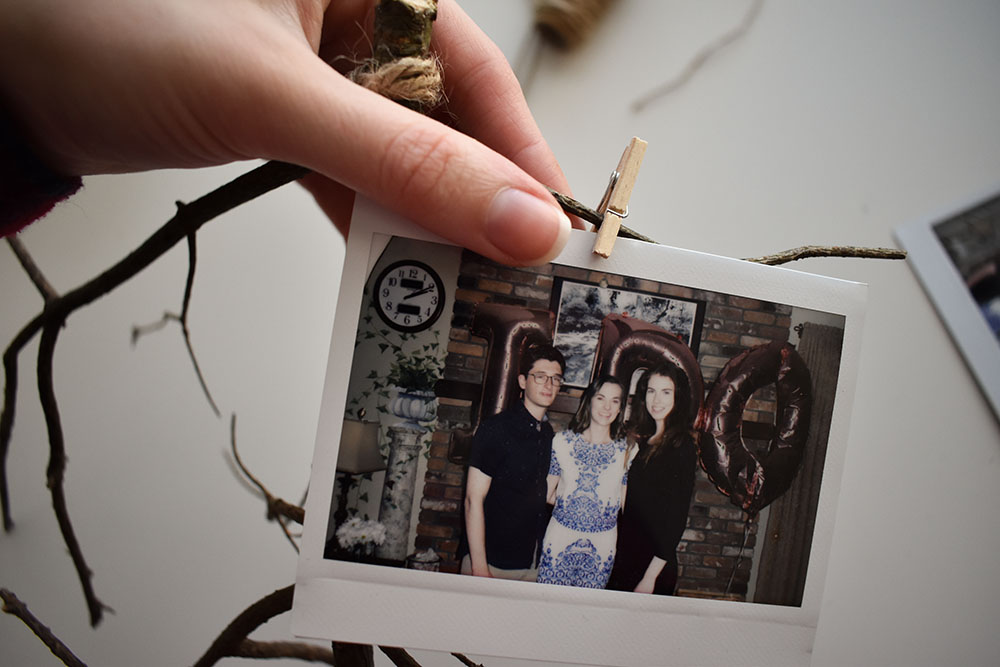
Step One:
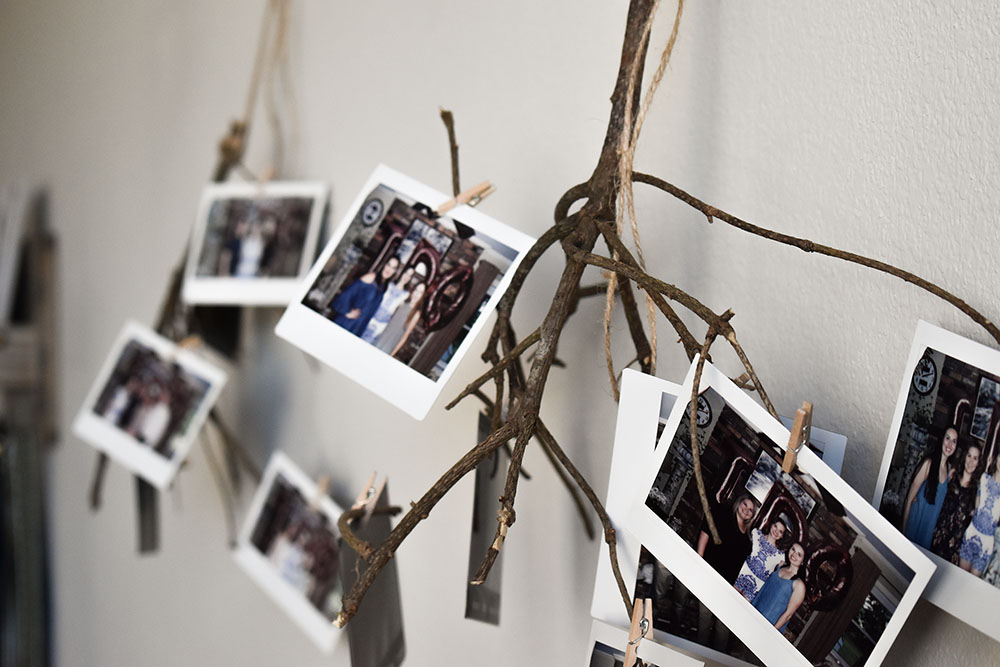
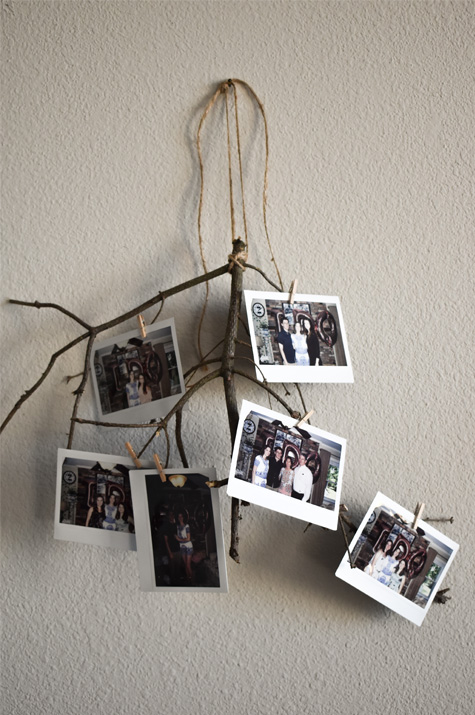
Take the first picture you want to place and secure it to the branch using a clothespin…. that’s pretty much it haha. Continue placing pictures until you’re happy with how it looks! You may have to play around with where you place the pictures because they can overlap each other or get covered by other branches. But that’s what gives it dimension and makes it unique! I highly recommend using polaroids or smaller pictures because I tried using regular pictures and they were way too big!
Step Two:
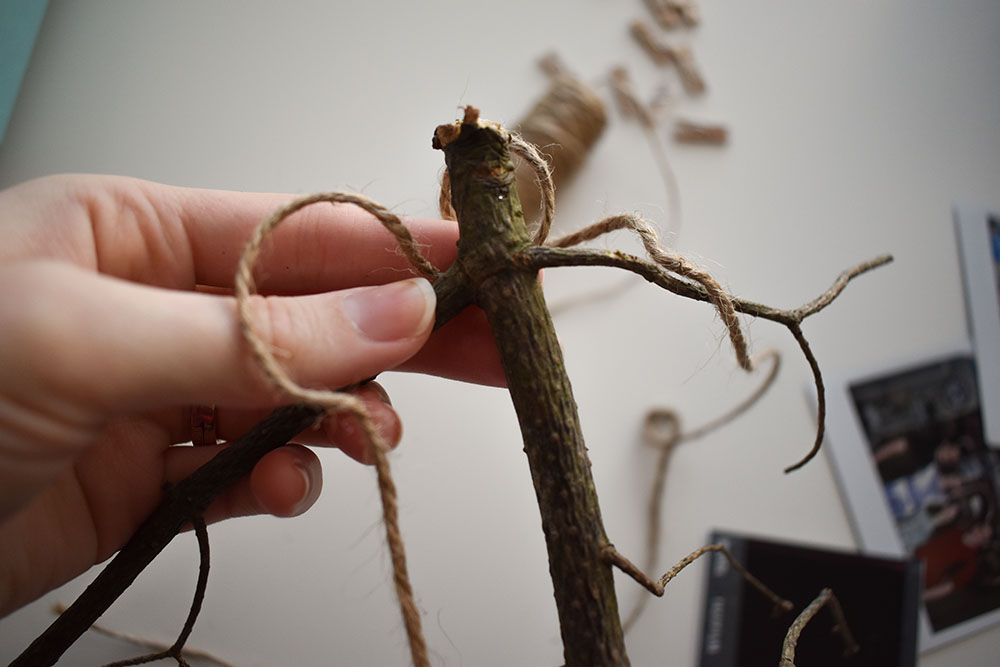
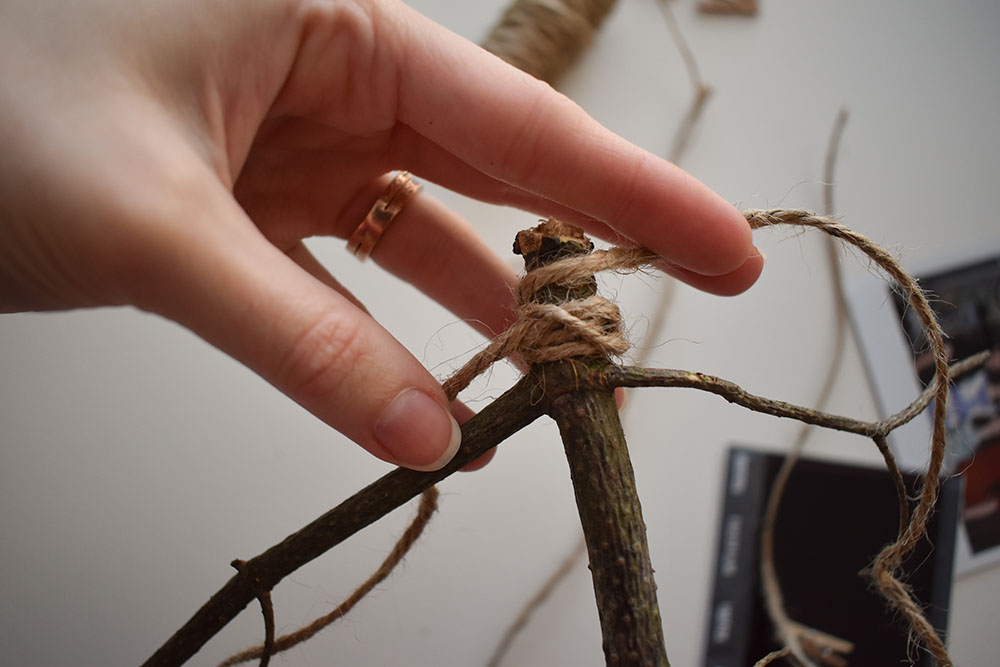
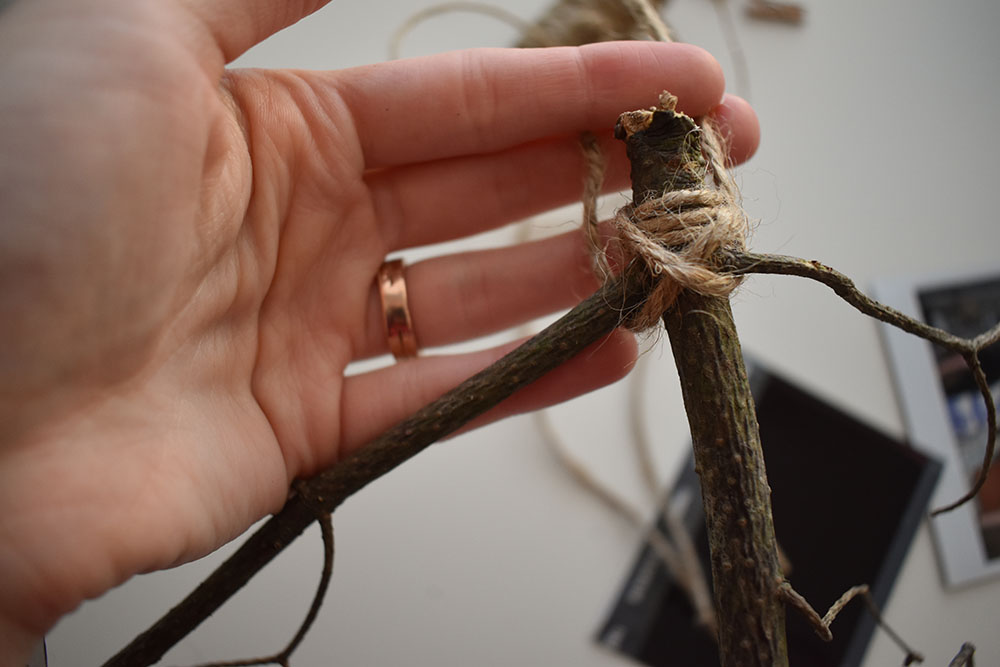
To tie the twine, I cut a piece that was about 4 feet long. Find the center and place it behind the top of the branch. Wrap each side of twine around the branch two or three times. My branch had two smaller pieces near the base that I could wrap my twine around to secure it. If yours doesn’t, just tie the twine in a knot after you wrap it around and this will keep it in place. (I had to do this on the second one I made).
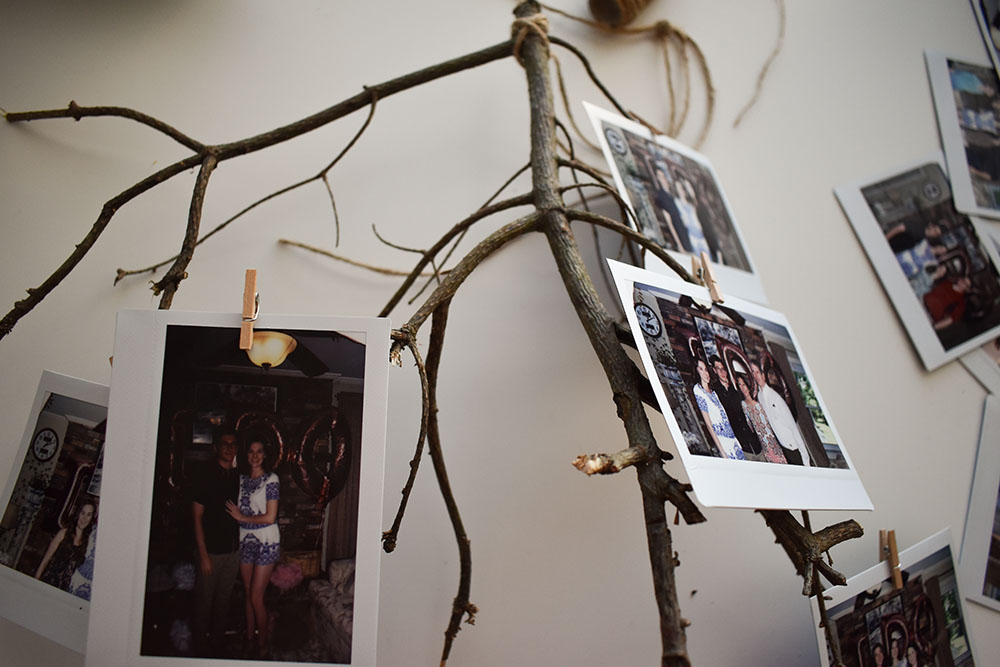
Step Three:
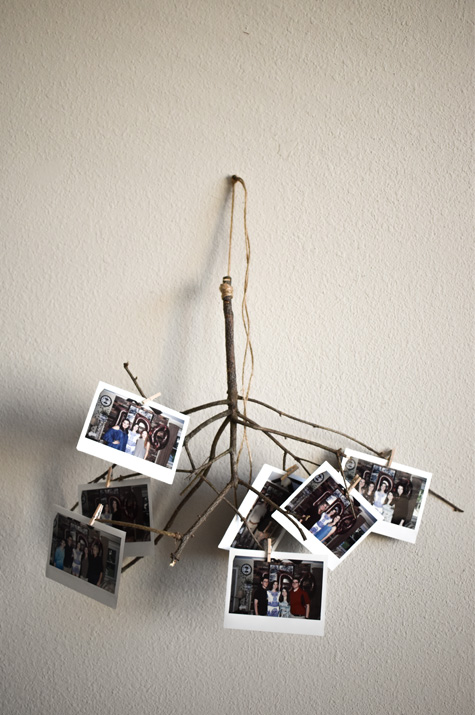
All that’s left to do is hang your beautiful creation on the wall! I used a nail and just tied the twine around on top. It’s super easy to switch up the photos if you want something new, or you could even hang notes or reminders. Get creative!
Hope you all liked this idea for quick DIY picture hanger. Have a happy Friday!